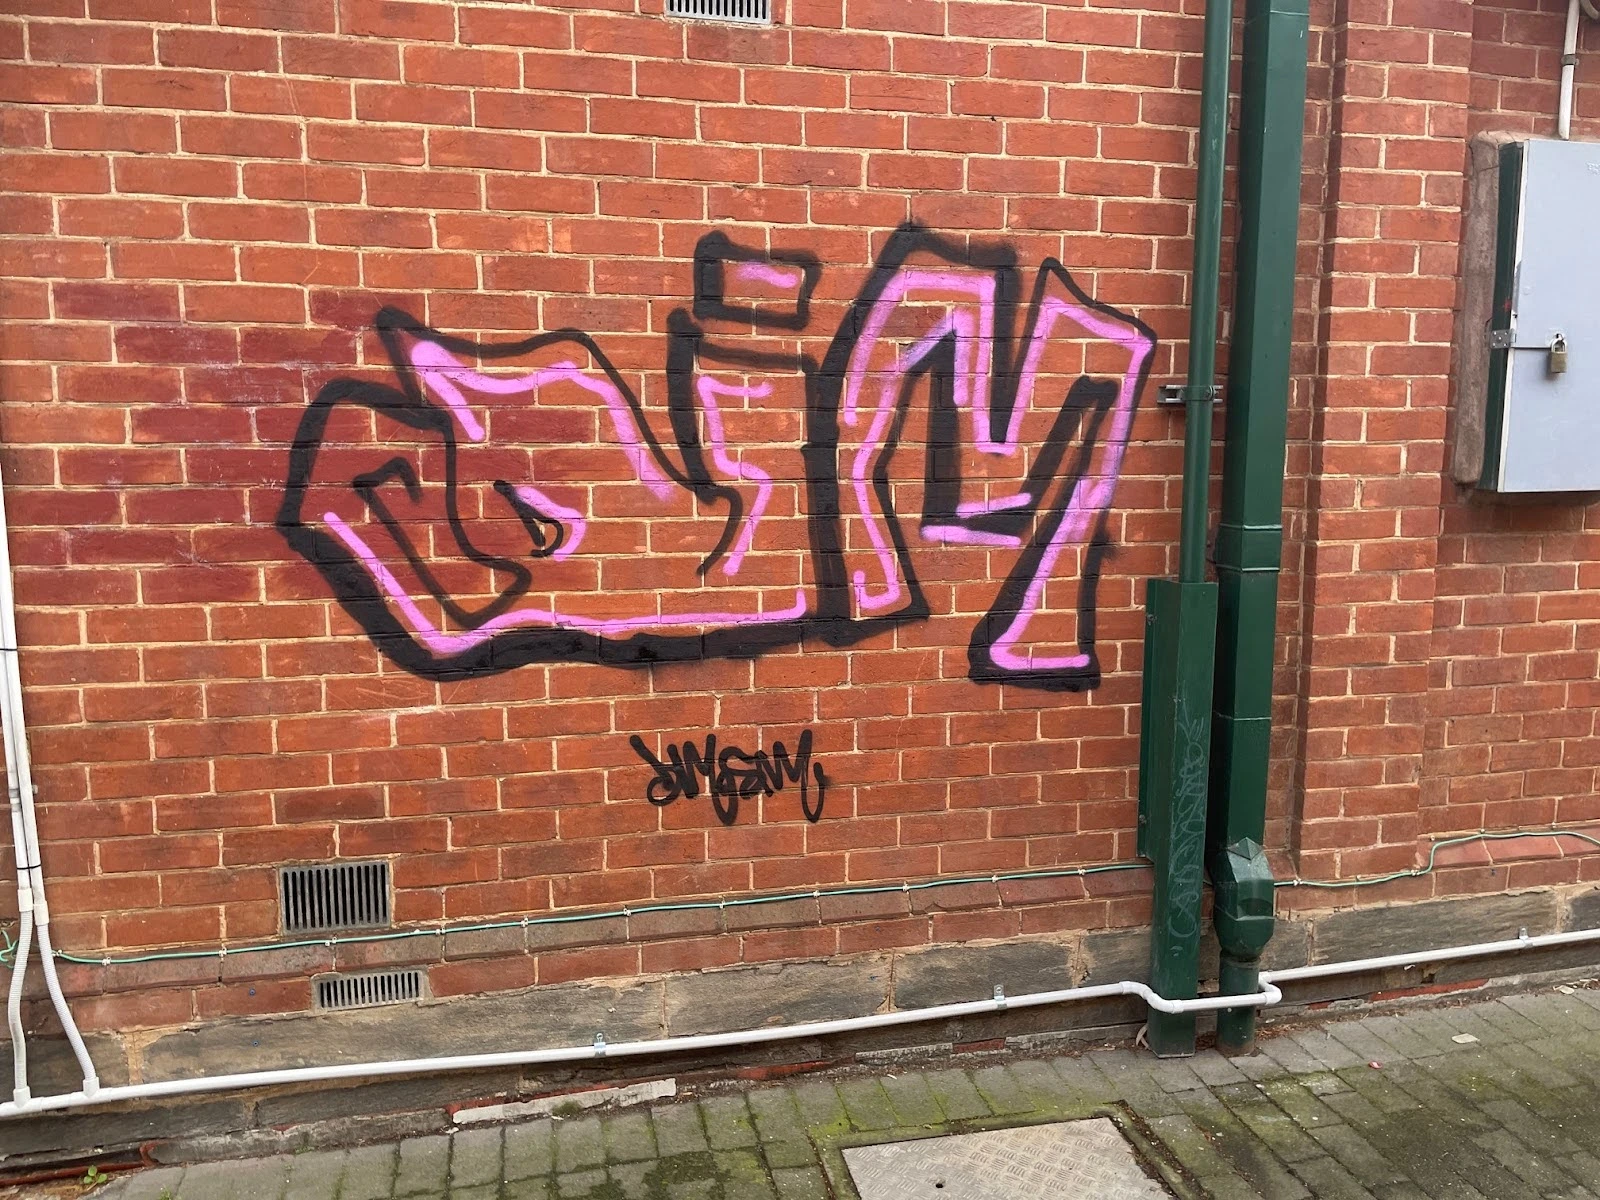
Graffiti on your property isn’t just an inconvenience, it impacts presentation, asset value, and for businesses, customer perception.
Left untreated, spray paint can quickly bond to surfaces like brick and concrete, increasing removal costs and the risk of permanent staining. Acting early with the right approach is key to protecting your surfaces and avoiding unnecessary damage.
Whether you’re managing a commercial site or maintaining a residential property
this guide will walk you through safe and effective graffiti removal across Adelaide – with practical advice from Surface Rescue, your local experts in surface restoration and protective coatings.
Why Quick Action Matters
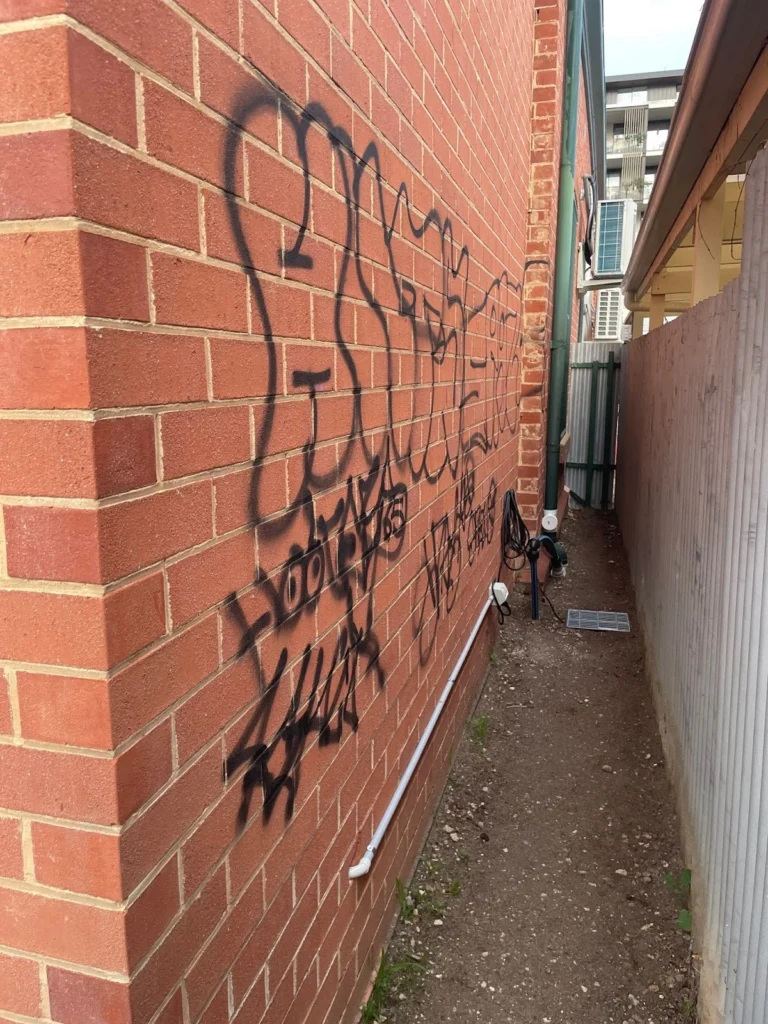
Time is your biggest enemy when dealing with graffiti. The longer spray paint sits on a surface, the deeper it penetrates, making removal significantly harder. In Adelaide’s climate, the sun’s UV rays can actually cure the paint into the substrate, particularly on porous materials like brick and concrete.
Beyond the practical concerns, prompt removal sends a clear message that vandalism won’t be tolerated. Properties with lingering graffiti often become repeat targets, as vandals view them as neglected or easy marks.
What You’ll Need Before You Start
Successful graffiti removal starts with proper preparation. Here’s what to gather:
✔ Protective gear (gloves, safety goggles, and long sleeves)
✔ Drop sheets or plastic sheeting to protect surrounding areas
✔ Graffiti remover suitable for your surface type
✔ Soft-bristle brush or non-abrasive scrubbing pad
✔ Bucket of warm water
✔ Clean cloths or rags
✔ Pressure washer (for appropriate surfaces)
Always test any cleaning solution on a small, hidden area first. What works beautifully on rendered walls might damage natural stone or painted surfaces.

Step-by-Step Graffiti Removal Process
Step 1: Assess the Surface Type
Different surfaces demand different approaches. Painted walls, bare brick, concrete, metal, and timber each react uniquely to cleaning methods. Identifying your surface type prevents costly damage and determines which products you’ll use.
Step 2: Apply the Right Remover
For most surfaces, start with the gentlest option. Apply your chosen graffiti remover according to the manufacturer’s instructions. Typically, this means spraying or brushing it onto the affected area and allowing it to sit for the recommended time (usually 5-15 minutes).
Step 3: Gentle Agitation
Using your soft-bristle brush, work the remover into the graffiti using circular motions. Don’t scrub too aggressively, particularly on porous surfaces where you might spread the paint deeper or damage the substrate.
Step 4: Rinse Thoroughly
Rinse the area with clean water, working from top to bottom to lift away residue and prevent streaking. A pressure washer set to an appropriate PSI can be effective, but care must be taken on porous or coated surfaces. Excessive pressure on brick or rendered walls can cause surface damage and should be avoided.
📖 People also read about:
Step 5: Repeat if Necessary
Stubborn graffiti rarely surrenders after one attempt. Multiple treatments with patience often yield better results than one aggressive assault that risks surface damage.
When Should I Call Professionals?
DIY graffiti removal works well for small, fresh tags on non-porous surfaces. Certain situations demand professional expertise though:
✔ Large-scale vandalism covering multiple square metres
✔ Heritage or listed buildings where surface preservation is critical
✔ Graffiti on delicate materials (sandstone, limestone, rendered finishes)
✔ Multiple failed DIY attempts
✔ Commercial properties where appearance impacts business
Professional services like Surface Rescue’s exterior cleaning use specialised equipment and techniques unavailable to homeowners. Soft washing methods can remove graffiti without the surface damage risk that comes with aggressive pressure washing.
The investment often proves worthwhile when you factor in the cost of chemical removers, equipment hire, your time, and the risk of permanent surface damage from incorrect techniques.
Preventing Future Vandalism
Prevention beats removal every time. Consider these deterrents:
1. Anti-Graffiti Coatings
These sacrificial barriers create a protective layer that allows easier paint removal without affecting the underlying surface. Think of them as insurance for your walls.
📖 People also read about:
2. Lighting and Visibility
Vandals prefer working in shadows. Motion-sensor lighting and trimmed vegetation that eliminates hiding spots make your property a less attractive target.
3. Quick Response
Remove graffiti within 24 to 48 hours whenever possible. This disrupts the vandal’s “reward” and discourages repeat attacks.
4. Community Involvement
Adelaide neighbourhoods with active residents watching for suspicious activity see significantly less vandalism. Consider joining or starting a local property watch group.
💡 Need help?
We offer professional commercial industrial exterior cleaning services to help you achieve your goals.
Protecting Your Adelaide Property
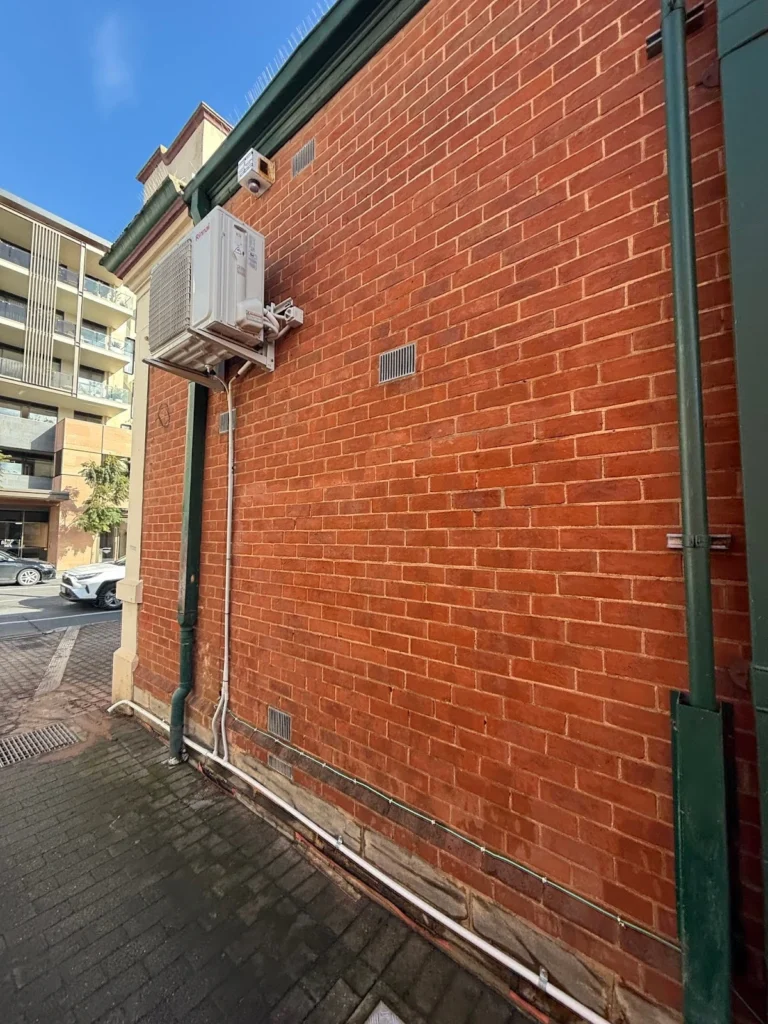
Graffiti removal doesn’t need to be overwhelming. With the right approach, most property owners can tackle small incidents successfully. The key lies in acting quickly, using appropriate products for your surface type, and knowing when professional help makes sense.
Remember that your property’s exterior is the first impression visitors and customers receive. Keeping it clean and graffiti-free demonstrates pride of ownership and maintains your investment’s value.
Need help tackling stubborn graffiti or large-scale vandalism across Adelaide? Surface Rescue‘s team specialises in safe, effective exterior cleaning that restores your property without damage. Get in touch at 0475 399 746 or visit surfacerescue.com.au for a free consultation.
Frequently Asked Questions
1. How long does epoxy flooring take to dry before it can be walked on?
Most epoxy floors are ready for light foot traffic within 12 to 24 hours, depending on temperature, humidity, and the product used. Full curing takes longer. With a rapid cure system like ours at Surface Rescue, you can often walk on the surface in as little as 6 hours.
2. When can I move furniture or drive on epoxy floors?
With most standard epoxy systems, furniture can usually be placed after 48 to 72 hours, while vehicles should wait 5 to 7 days to avoid tyre marks or surface damage.
With a rapid cure system like Surface Rescue’s, you can typically move furniture back within 24 to 48 hours and drive on the surface after around 24 hours, depending on site conditions.
As always, it’s best to follow your installer’s specific recommendations to get the best result.
3. If it cures faster, does that mean it’s lower quality?
No. Our rapid cure system is made from high-quality materials that are designed to perform just as well, if not better, than traditional epoxy systems.